Install Backup for Linux on Synology NAS (Docker)
Note that the Backup for Linux on Synology NAS was not tested enough. If you want to continue with Backup for Linux installation on Synology NAS, do it at your own risk
Requirements
- Synology or QNAP NAS with x86/x64 CPU architecture only. NAS devices with ARM CPU are NOT supported.
- Internet access from NAS device.
- Whitelist NAS IP address and Docker Ubuntu container IP address in network firewall/gateway/proxy.
- Generated Backup for Ubuntu build in MBS portal.
Install Docker and Create a Container
- Log in to your NAS and open Package Center
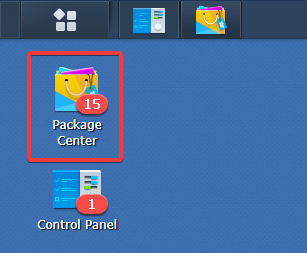
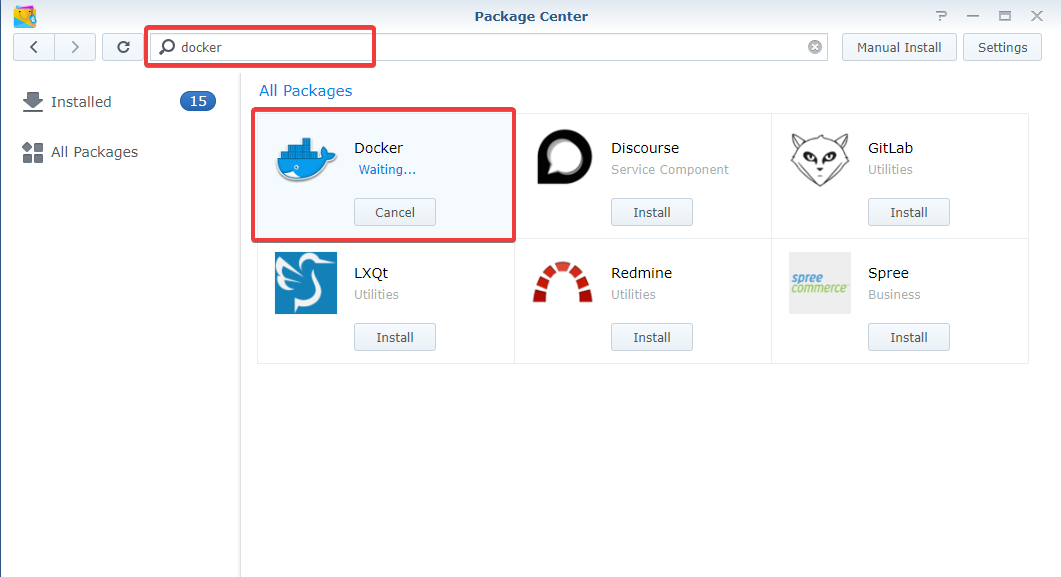
- Search for Docker. Click Install.
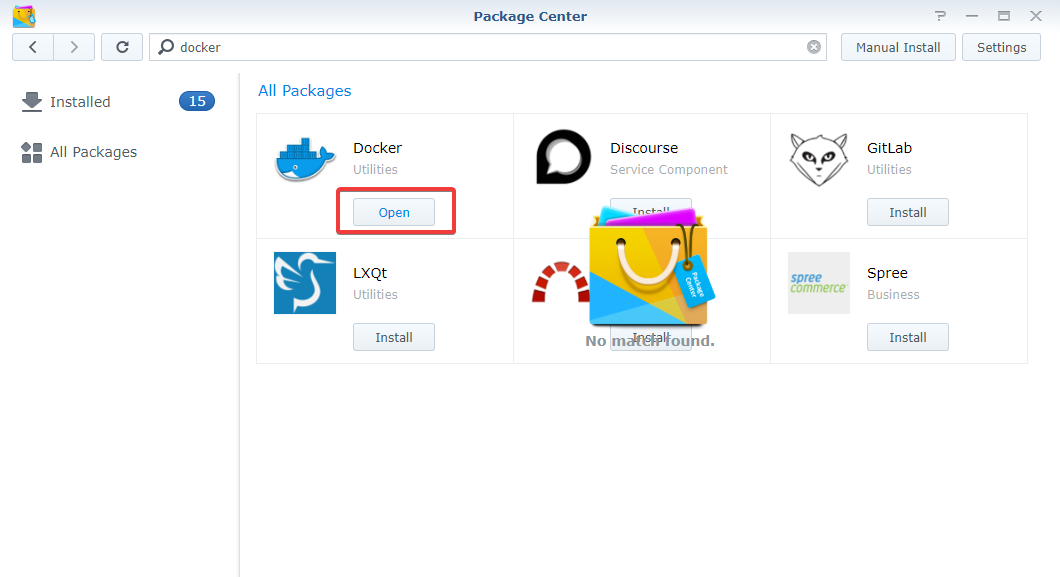
- Click Open when the installation is finished.
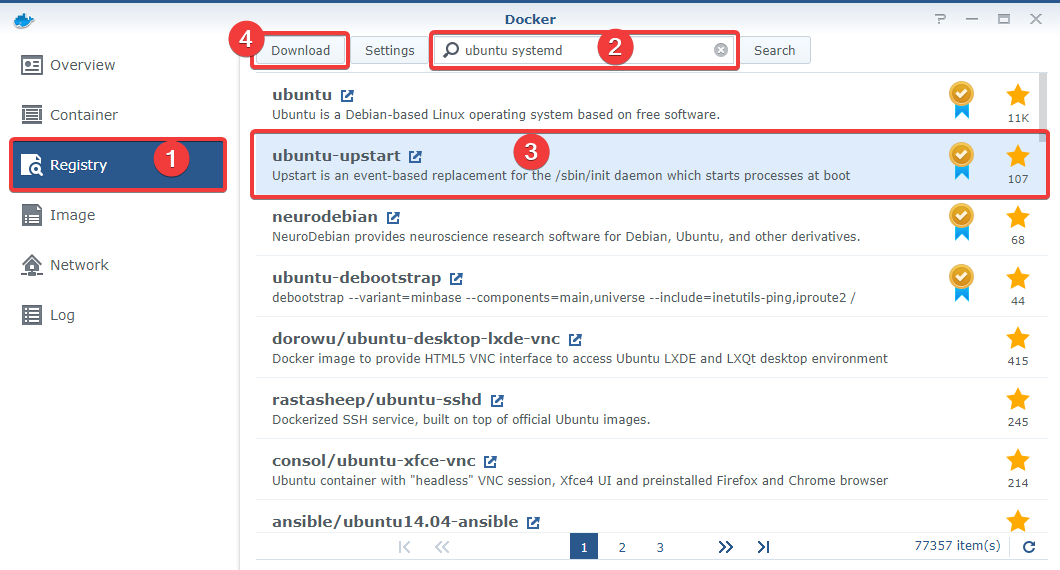
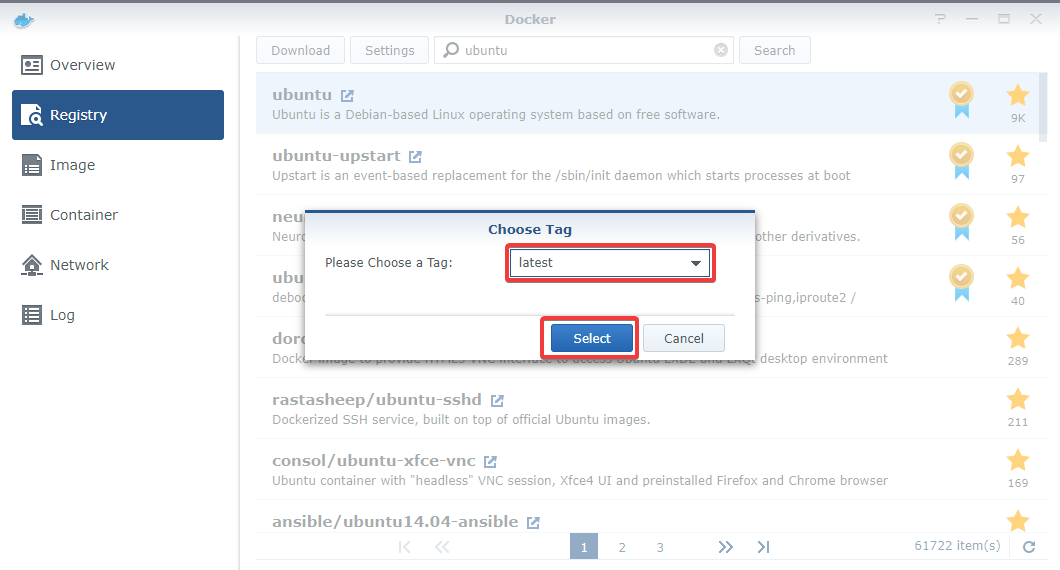
- Open Registry. Search for Ubuntu systemd in the search bar. Select the Ubuntu-upstart image in the list and click Download.
- Make sure that the "latest" tag is selected. Click Select.
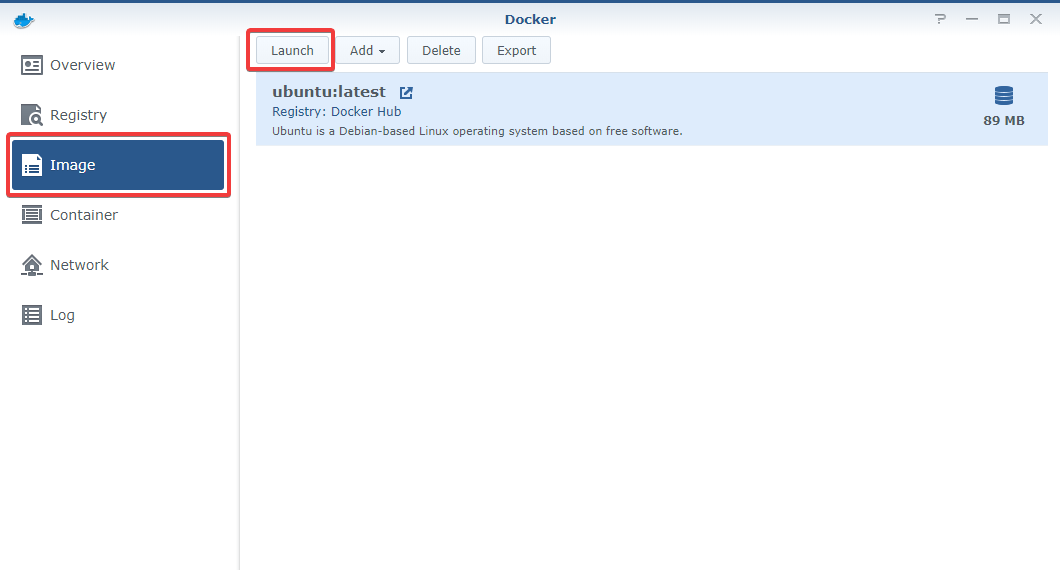
- Navigate to Image. Click the Launch button.
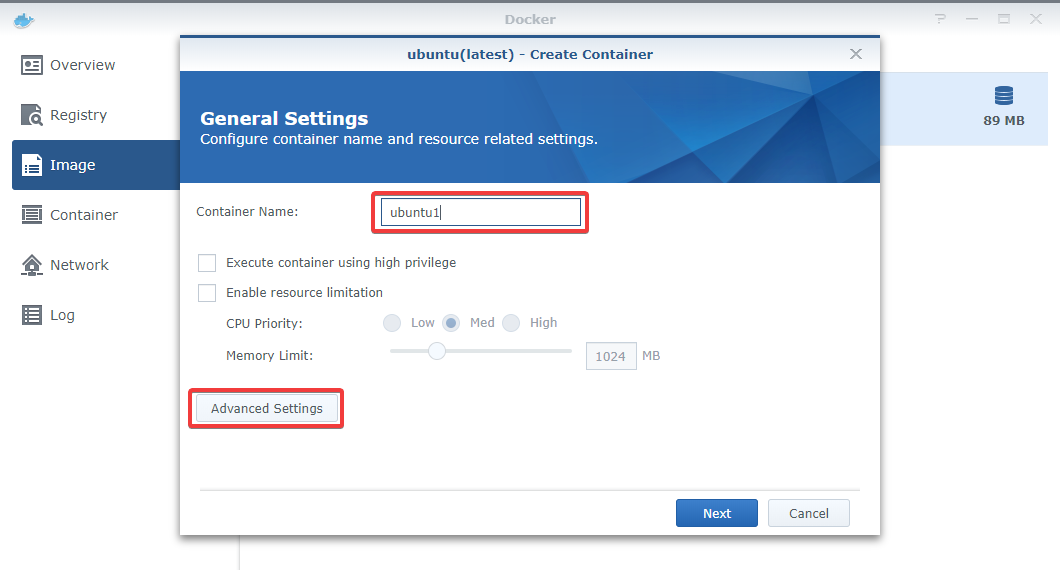
- Specify Container Name. Click Advanced Settings button.
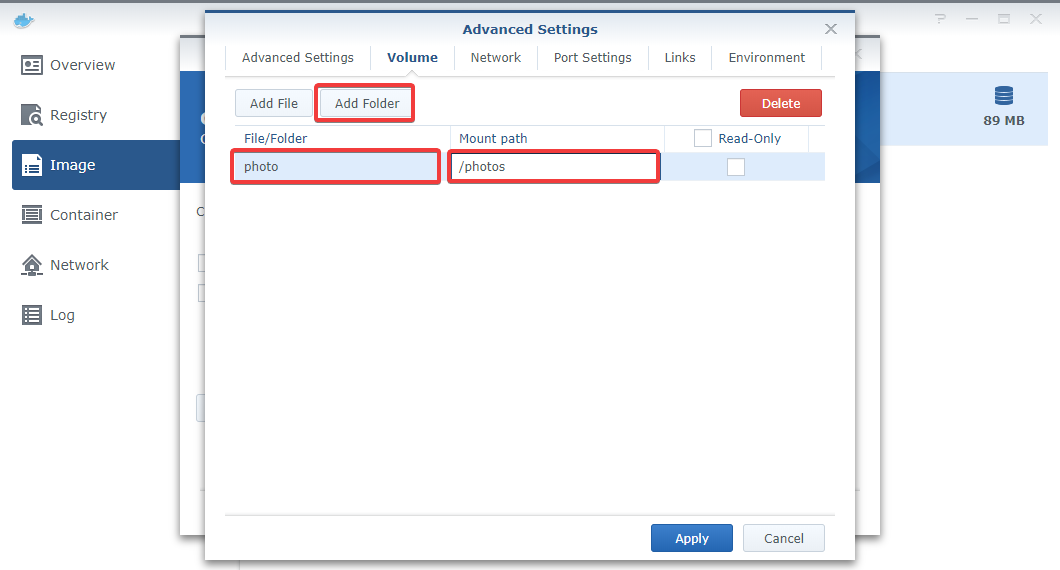
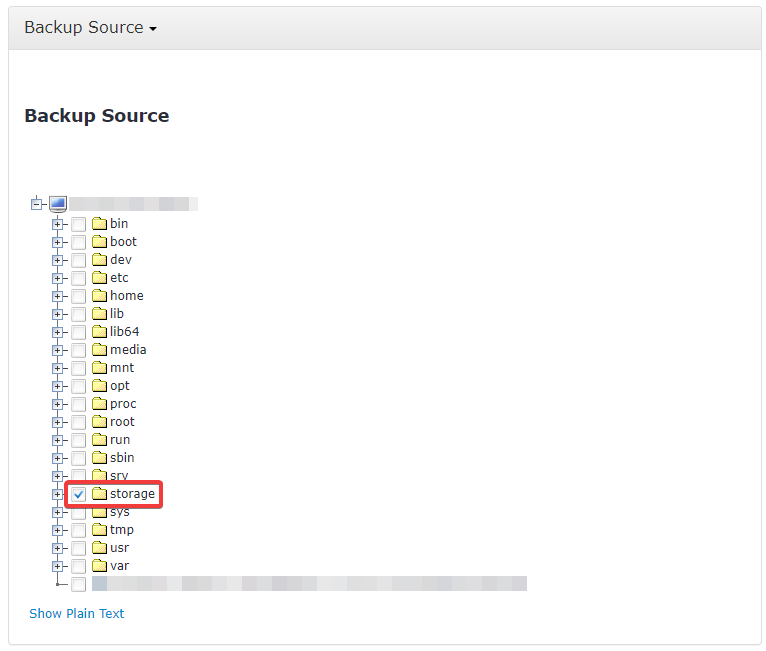
- Select Volume Tab.
Mount backup data directories to back up. They will be available in R/W mode inside the container. Select the local folder and specify the mount path. Click Apply.
File/Folder: select folder NAS folder
Mount path: mount path inside the container. Specify /NASFolderName
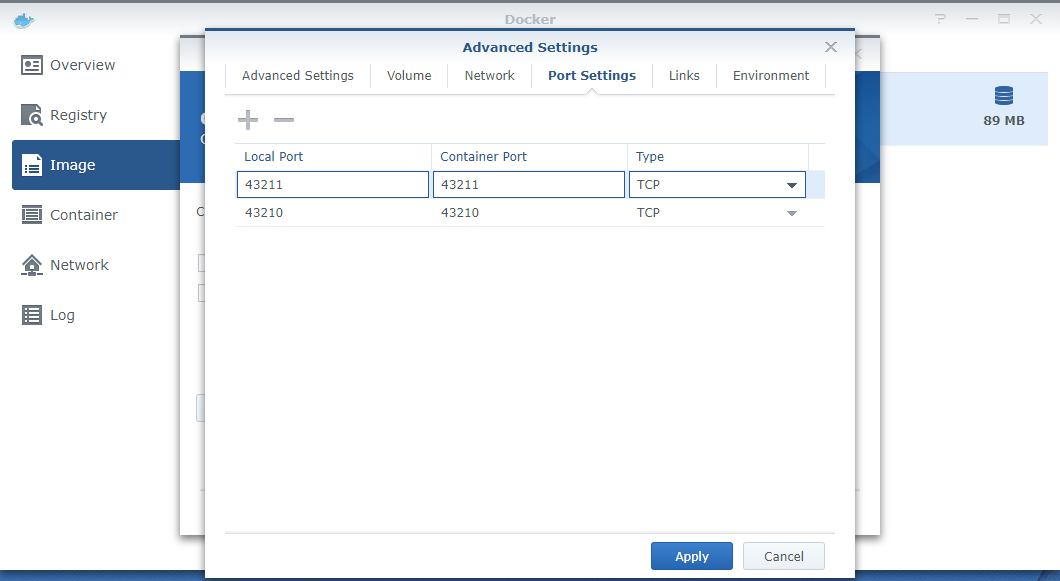
- Most Backup Agent functions/settings can be managed using Management Console. In some cases, you can manage Backup Agent via Web Access. To be able to connect to Web Access ports, you need to forward connections from NAS ports to container ports.
Go to the Port Settings tab and add the following ports.
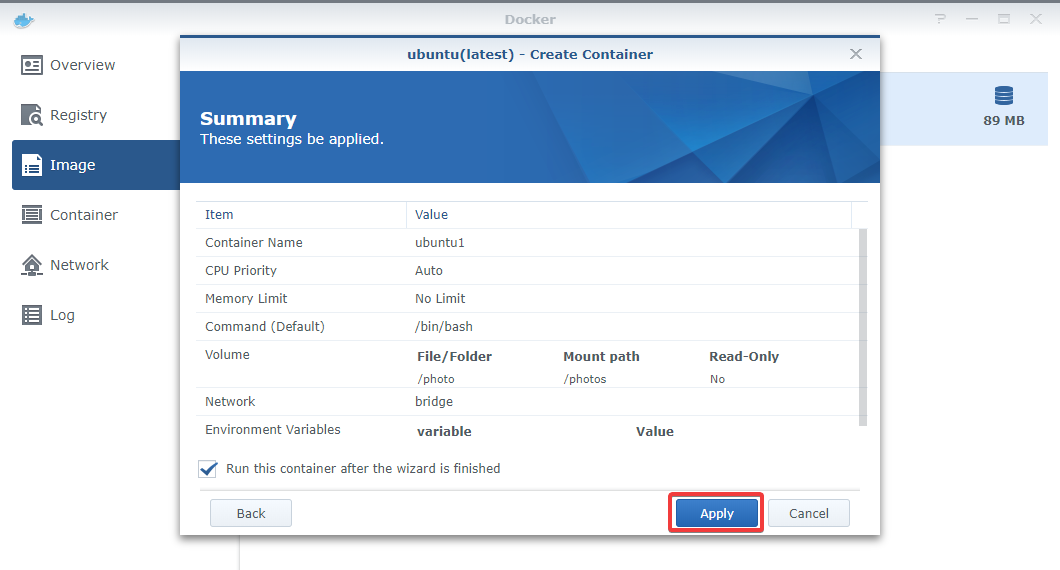
- Review container settings and click Apply.
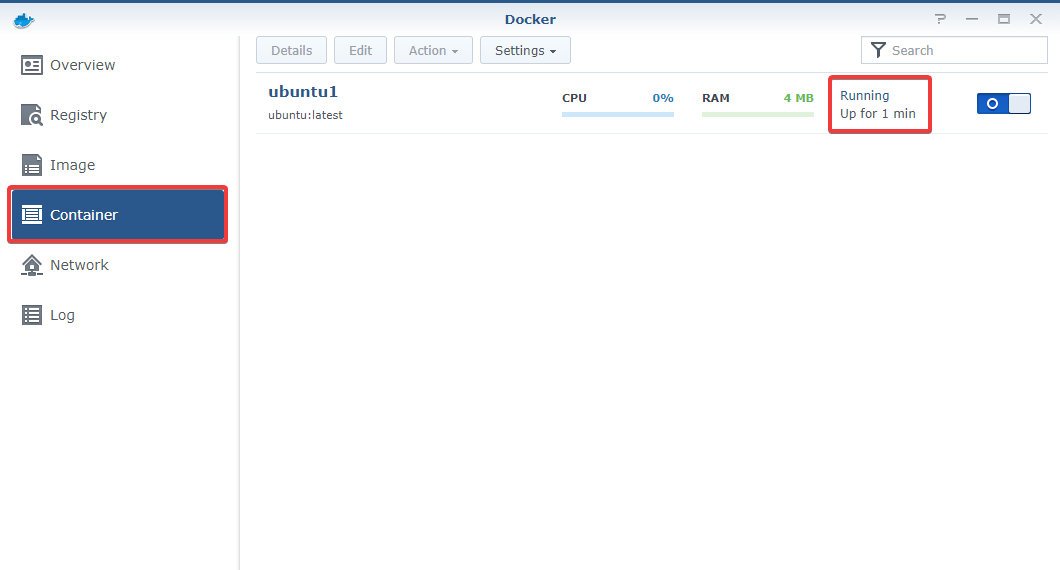
- Select Container tab and check that Docker container up and running.
Install CloudBerry Backup Agent for Linux
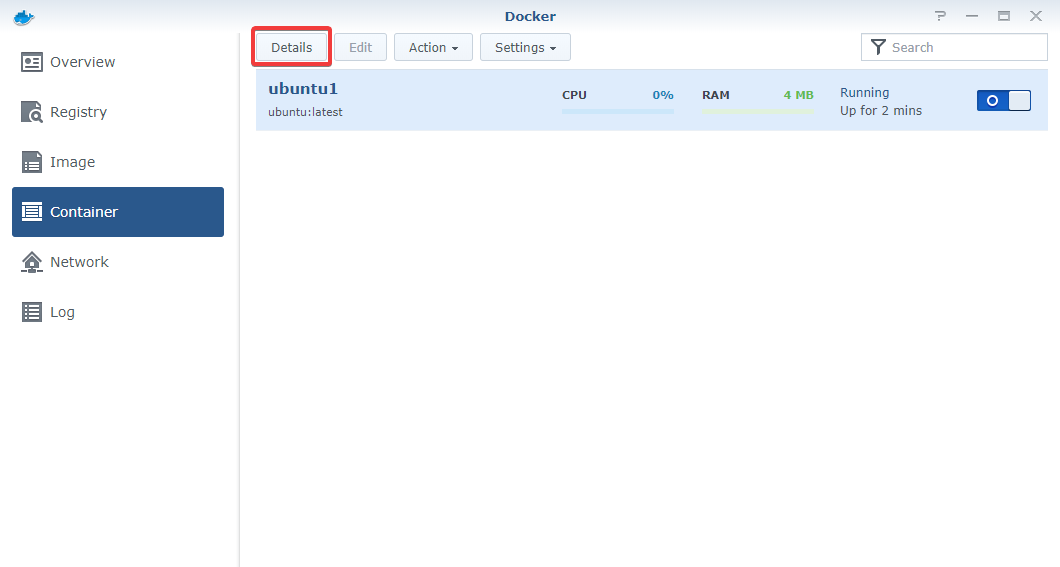
- Navigate to the Container page. Select the recently created container and click Details.
- Select Terminal tab.

- Run the following commands to install the required components.
apt-get update
apt-get install -y wget libglib2.0-0 dbus
- Open the Management Console and copy the Backup for Ubuntu build link.
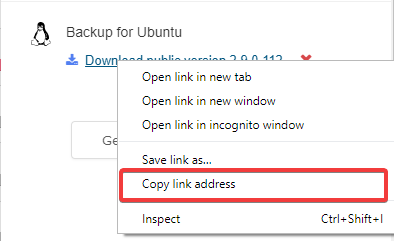
- Download your Backup for Ubuntu build by the following command. Change generic build link by copied one in the command.
wget https://s3.amazonaws.com/cb_setups/MBS/XXXX/ubuntu14_XXXX_OnlineBackup_vXXXX.deb
- Install the downloaded build by the commands below. Change generic backup file name by your own.
dpkg --add-architecture amd64
dpkg -i ubuntu14_XXXXX_OnlineBackup_vXXXX_.deb
Login As a Backup User to Management Console
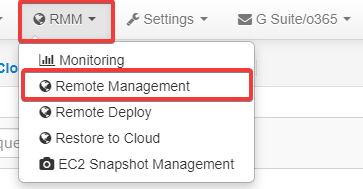
- Open the Management Console.
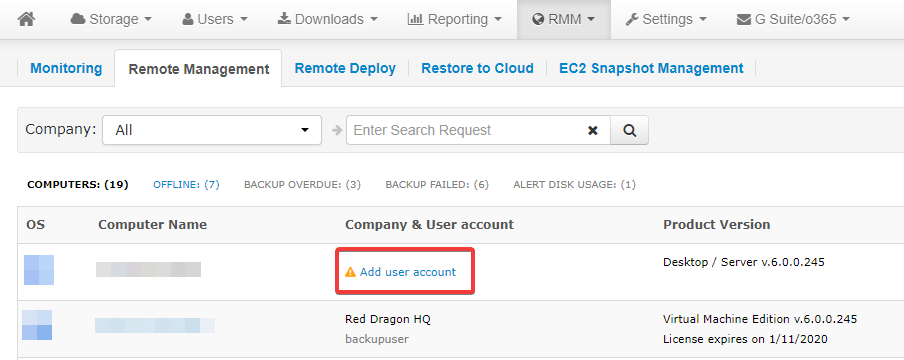
- In the Computers menu, select Remote Management.
- Click at "Add user account" link.
- Select the proper backup user in the User account field.
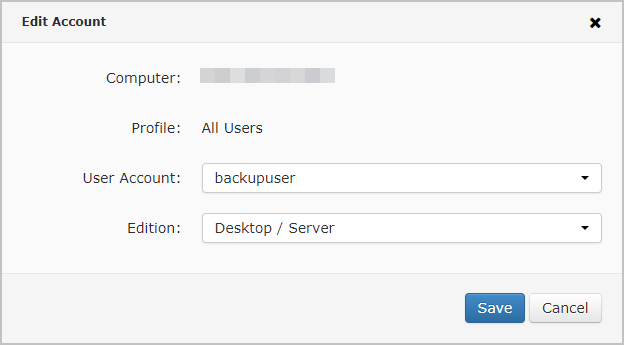
- Create a backup plan and select the mapped folder.
Edit Mounted Folders
In some cases, additional folders are required to be mounted or unnecessary ones are subject to removal. To edit mounted folders, proceed as follows:
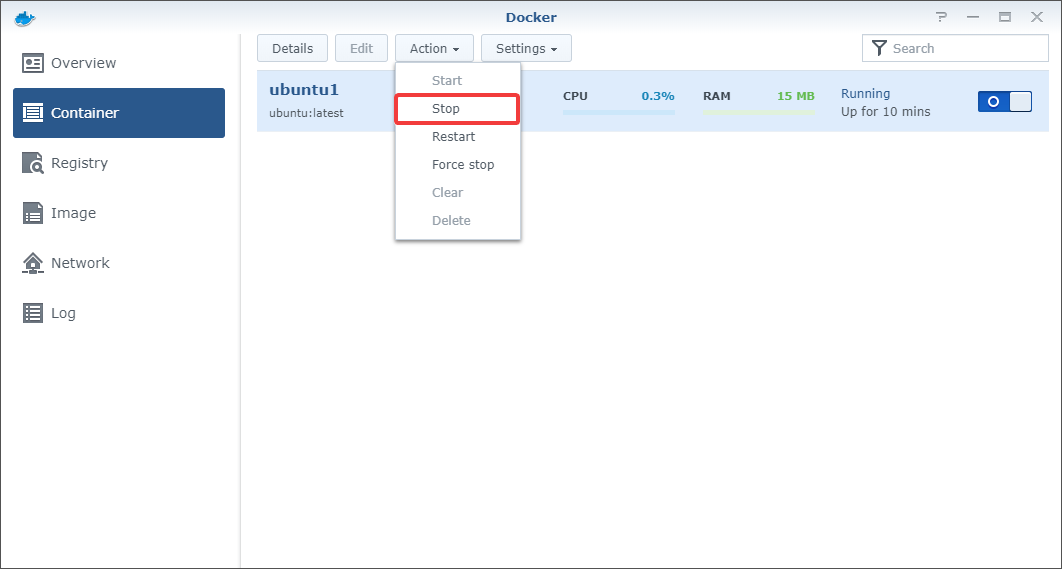
- Stop the container.
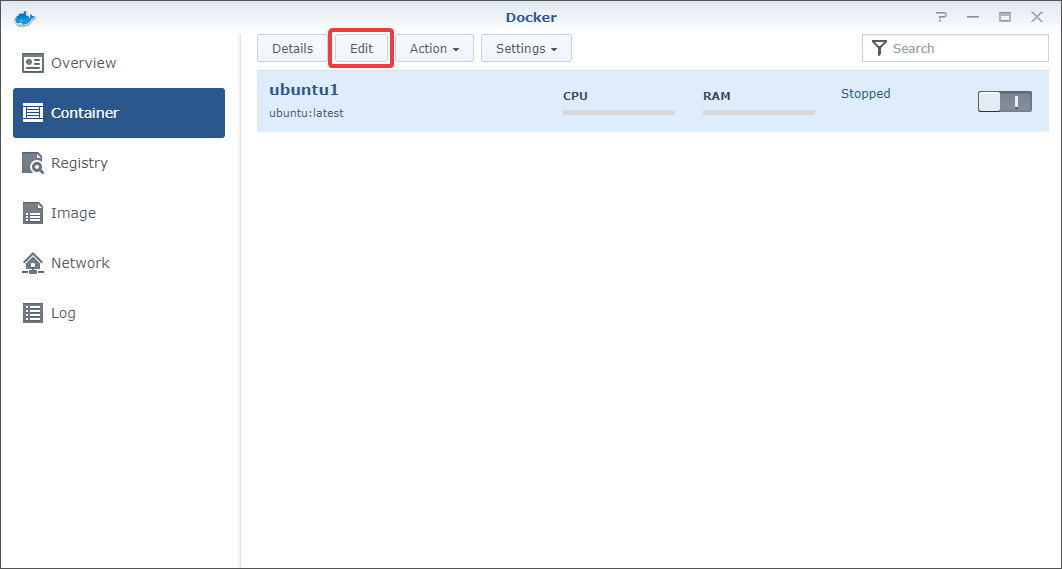
- Click the "Edit" button to open container settings. Apply changes.
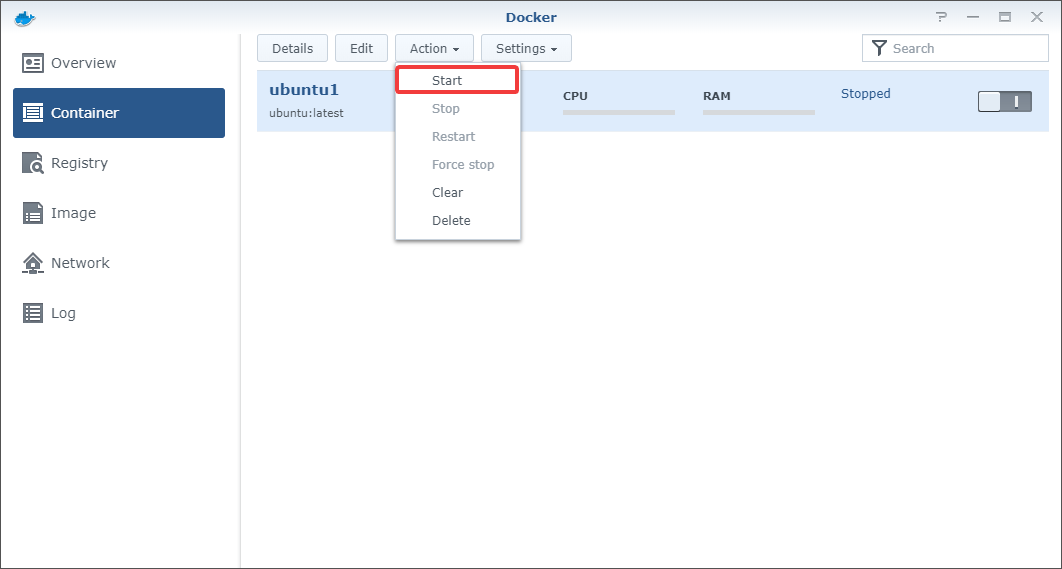
- Start the container.
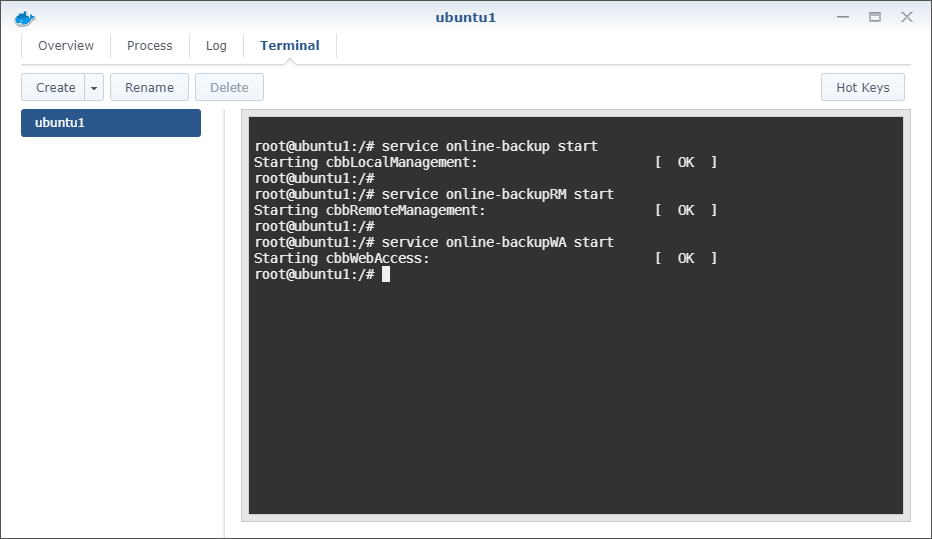
- If a Backup Agent is not online in the Management Console, start the Online-backup services using the following commands:
service online-backup start
service online-backupRM start
service online-backupWA start
Contact Us
Tech questions: tech@msp360.com
Sales questions: sales@msp360.com