S3 Compatible Buckets in Backblaze B2
As of May 4, 2020, Backblaze B2 supports an S3-compatible API that allows synthetic full backup to Backblaze B2 for image-based backups.
Enable Synthetic Backup for Backblaze B2
To enable the synthetic backup for Backblaze B2in Backup for Windows or in Managed Backup, open the required paragraph:
Backup for Windows
Create Bucket
Buckets created prior to May 4, 2020, are not S3 Compatible. If you do not have any S3 Compatible buckets, you have to create a new one. All buckets created after May 4, 2020, will be S3 compatible
To create a new bucket, log on to your Backblaze B2 account, select Buckets, then click Create a Bucket, then specify the name for the new bucket and access mode: Public or Private.
There are three things you need to connect to your bucket using the Backblaze S3 Compatible API:
- S3 Endpoint
- Application Key ID
- Application Key
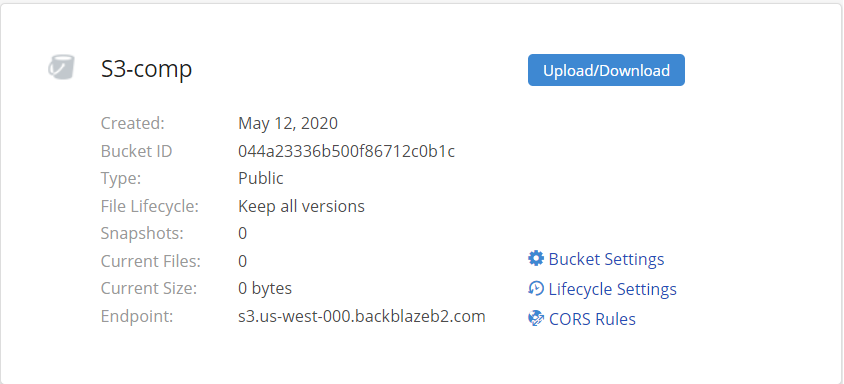
To find the S3 Endpoint for your account, select Buckets, then find the target bucket. The S3 Endpoint can be found under Endpoint:
Create New Application Key ID and Application Key
- Select App keys
- Click Add a New Application Key
Warning: do not click Generate New Master Application key! Such keys are not S3 compatible
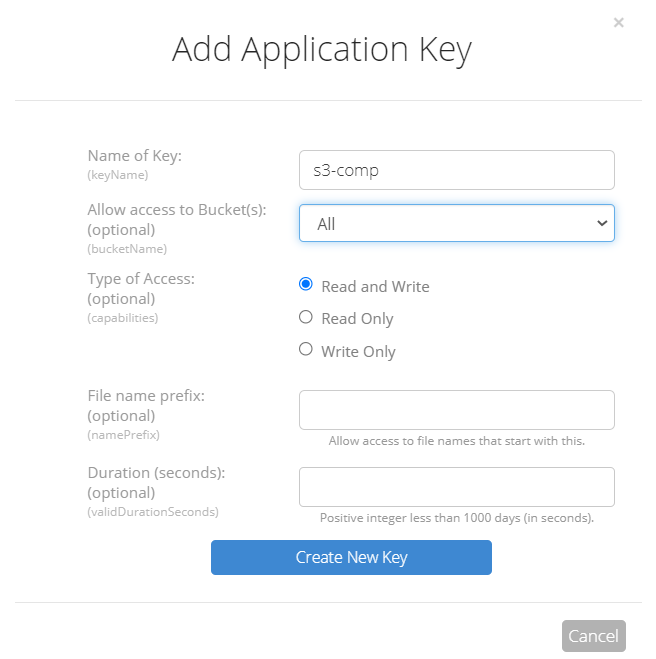
- Specify the new application key settings, and then click Create New Key
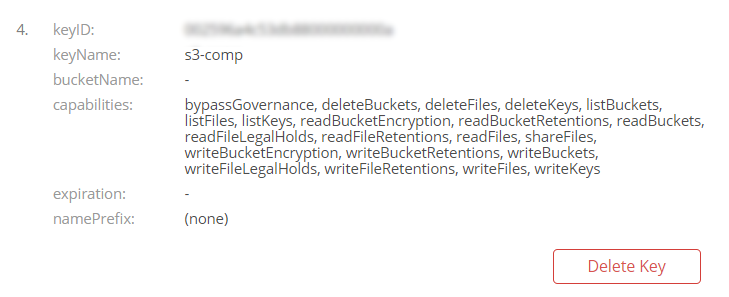
- Copy the KeyID and applicationKey to a safe place.
You are now ready to add an S3 compatible Backblaze bucket to MSP360 Backup.
Add Backblaze S3-compatible Storage Destination
- In the MSP360 Backup application menu, click Add Storage Account.
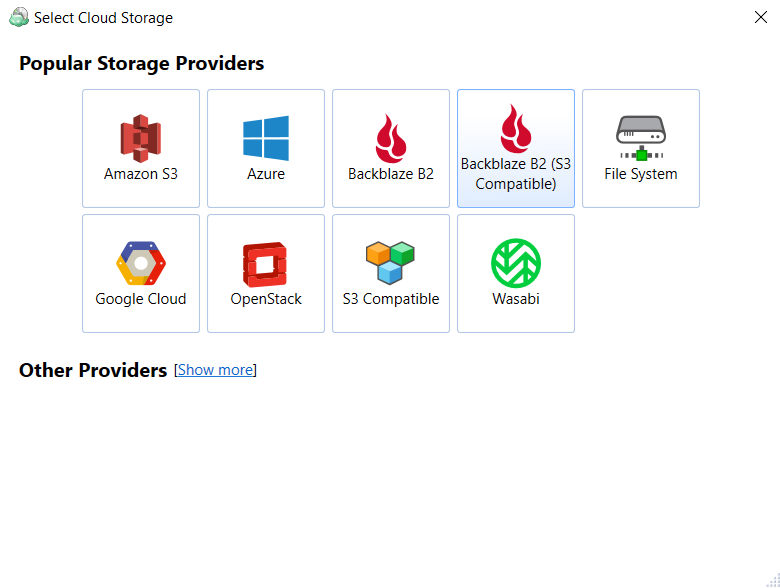
- Select Backblaze B2 (S3 compatible).
- Specify the credentials and S3 endpoint (Service Point) for the new bucket.
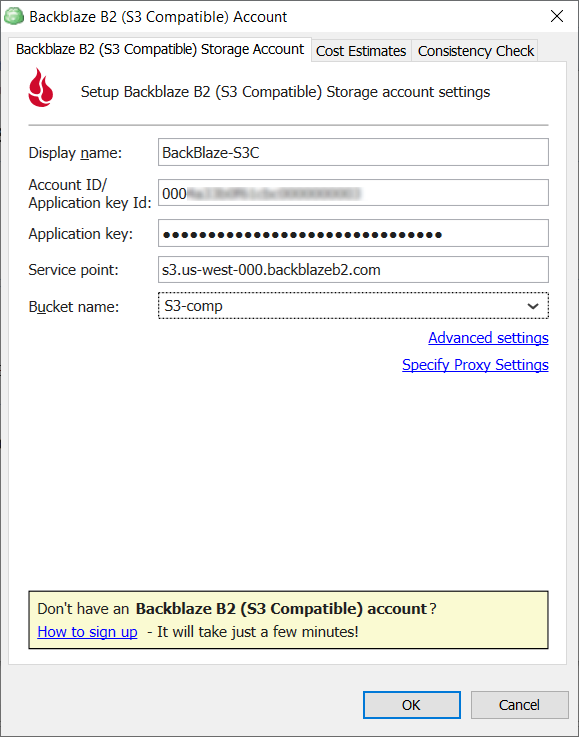
- Click OK.
Now you can use Backblaze B2 backup storage for synthetic image-based backups.
Enable Synthetic Backup
To enable synthetic backup, edit your image-based backup plans:
- On the Select Backup Storage step, specify one of your Backblaze B2 (S3 compatible) buckets as the target, click Next
- On the Advanced Options step, check the Enable Synthetic Full Backup checkbox
- Finish the backup wizard and save the backup plan configuration.
Add Backblaze S3-compatible Storage Destination in Management Console
- Open the Management Console
- In the Storage menu, select Storage Accounts
- Click Add Account
- Select S3 compatible
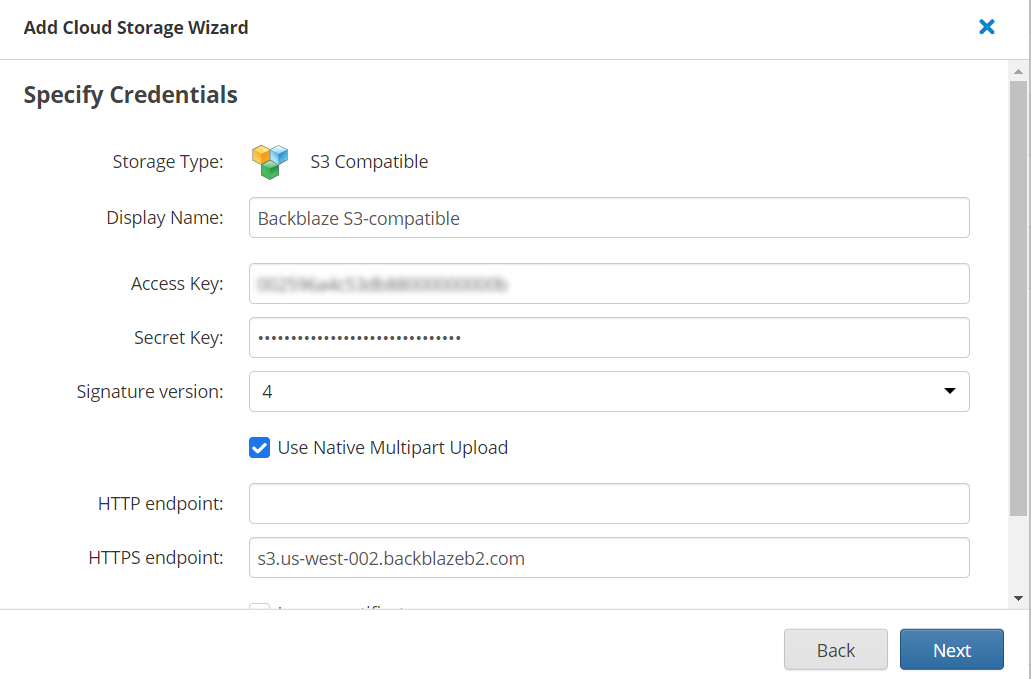
- Specify the credentials and S3 endpoint (Service Point)
- Click Next
- Create a new bucket or select an existing one. To select an existing bucket, click Show advanced settings first, then select the Select existing option
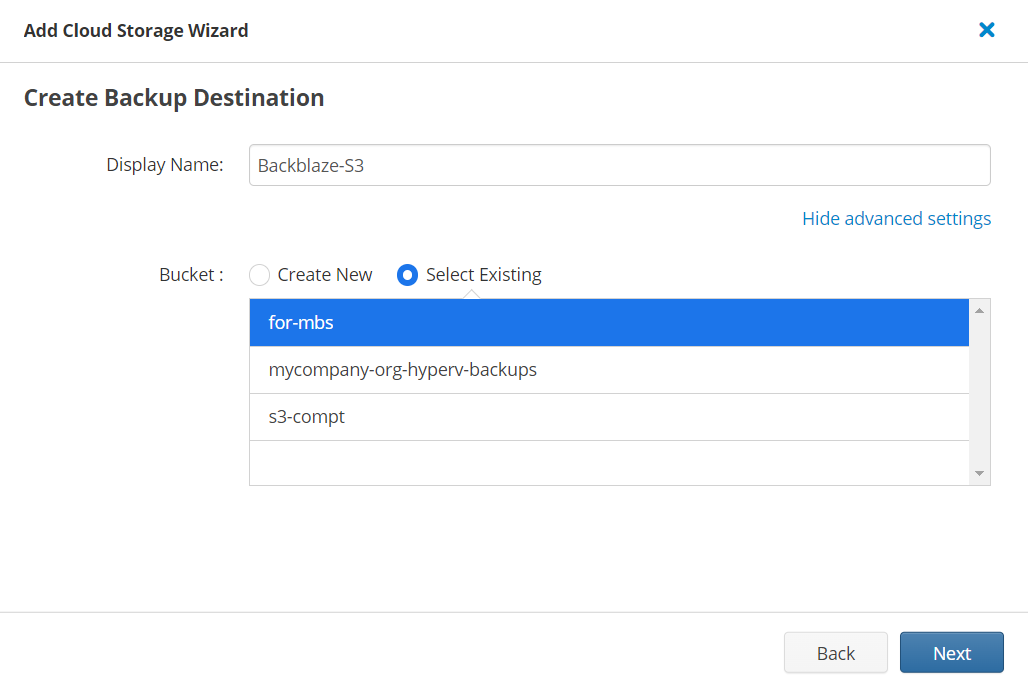
- Click Next
- Assign the bucket to the required companies
- Finish the wizard.