Minio storage on Linux. Quick installation guide.
According to the official site, “Minio is an object storage server released under Apache License v2.0. It is compatible with Amazon S3 cloud storage service. It is best suited for storing unstructured data such as photos, videos, log files, backups and container / VM images. Size of an object can range from a few KBs to a maximum of 5TB”. (https://docs.minio.io/)
Minio can be configured under Windows or Linux. However, due to some temporary issues with Windows we highly recommend you to go for a Linux. Since Linux is distributed for free it’s very easy to find the needed installation package over the Internet. Download and install one of the popular Linux distros like:
Below you will find an installation script and other instructions for setting up your Minio storage.
1. Download and start Minio configuration script
su (or sudo su)		// Evaluate privileges to root user
wget "https://s3.eu-central-1.amazonaws.com/cblpublic/mcs.sh" // Download the script
chmod +x mcs.sh		// Make the script executable
./mcs.sh		    // Run script
2. Script step-by-step explanation:
2.1 The installation script we previously provided will search for any unfinished/failed Minio installations and delete them automatically.

2.2 You can unmount previously mounted share if you want to mount another share or use local backup destination folder.

At this step, you can select your Linux OS.

There are several packages required for the correct work of the Minio server:
- sudo
- openssl
- cifs-utils
- curl
- nfs-common
- net-tools
- dnsutils
- samba
- smbclient
- htop
They will be installed automatically.
2.3 To point Minio to store data on a NAS or a file server, enter the IP address of that NAS/server. Keep it blank if you would like to use a local folder for Minio storage. Then press Enter.

2.4 On this step you should specify a local backup destination folder. Steps from 2.5 to 2.8, related to the mounting network share, will be skipped.

2.5 Specify NAS/File server network share name.

2.6 Enter username and domain name (you can omit @domain_name if a user is local) in format username@domain_name

2.7 Enter user password. Input is not hidden to allow you to correctly specify the password.

2.8 Specify the path where you would like to mount a network share (e.g. /mnt/share). The folder will be created automatically.

2.9 At this step, the script shows an active local IP address from the routing table. Your local IP address will be used to create a self-signed SSL certificate. Your external/public IP address will be applied automatically.

2.10 You should then specify the access key for Minio. Minio requires the access key to consist of at least 3 numbers, but we suggest using a minimum of 8 symbols, numbers, and/or special characters for security purposes.

2.11 Enter the secret key for Minio. The secret key requires a minimum of 8 symbols, numbers, and/or special characters for security purposes.

Once you have entered all required information, the script will do the following.
- Permanently mount a network share if IP address was specified.
- Download the latest Minio binary
- Create self-signed SSL certificate
- Create new minio-user user and give that user permissions to Minio folders
- Open firewall port 9000
- Run Minio as a service
3. Adding Minio storage account in CloudBerry Managed Backup Service
3.1 Log in to your MBS panel at https://mspbackups.com/
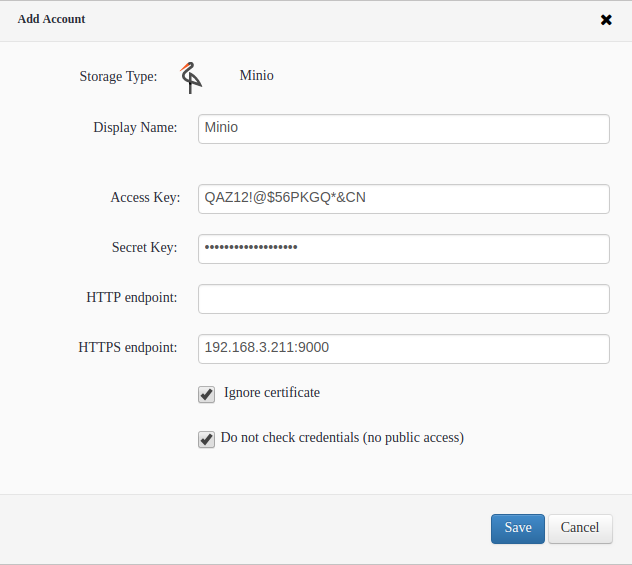
3.2 Go to Storage > Storage Account > Add account > show more… > Minio

Then you need to attach that storage account to the user. You can find more details at https://mspbackups.com/Admin/Help.aspx?c=Contents\help_apply_storage_for_user.html
4. Troubleshooting: most common issues
a. Install wget If you faced message “wget command cannot be found”, you need to install wget package using the following command.
For Ubuntu / Debian: apt-get install wget -y
For CentOS: yum install wget -y
b. Manage Minio service You can use the following commands to start, stop and get the status of Minio
systemctl start minio # Starts Minio service
systemctl stop minio # Stops Minio service
systemctl status minio # Shows Minio service status
c. Ubuntu: ERROR 22 (“sec=ntlm” issue) Sometimes, during mounting share folder, you can face the error message (-22). It happens due to unavailability to negotiate authentication method. Use the following steps to solve it.
sudo nano /etc/fstab

#Found and delete “sec=ntlm,”
#To save the changes and quit press “Ctrl + X”
#Then press “Y” to confirm and press “Enter”

sudo mount -a
d. Mount error (13): Permission denied Usually, the reason is the wrong username or password.
sudo nano /etc/minio/.smbcredentials

#Amend username or password
#To save the changes and quit press “Ctrl + X”
#Then press “Y” to confirm and press “Enter”

sudo mount -a
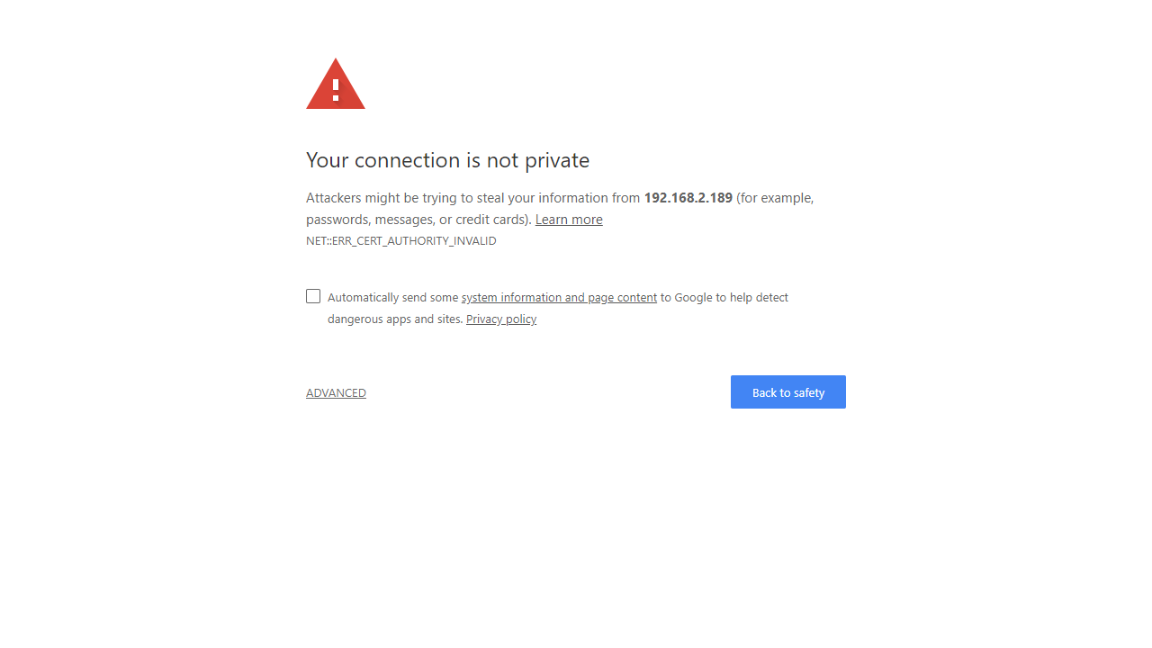
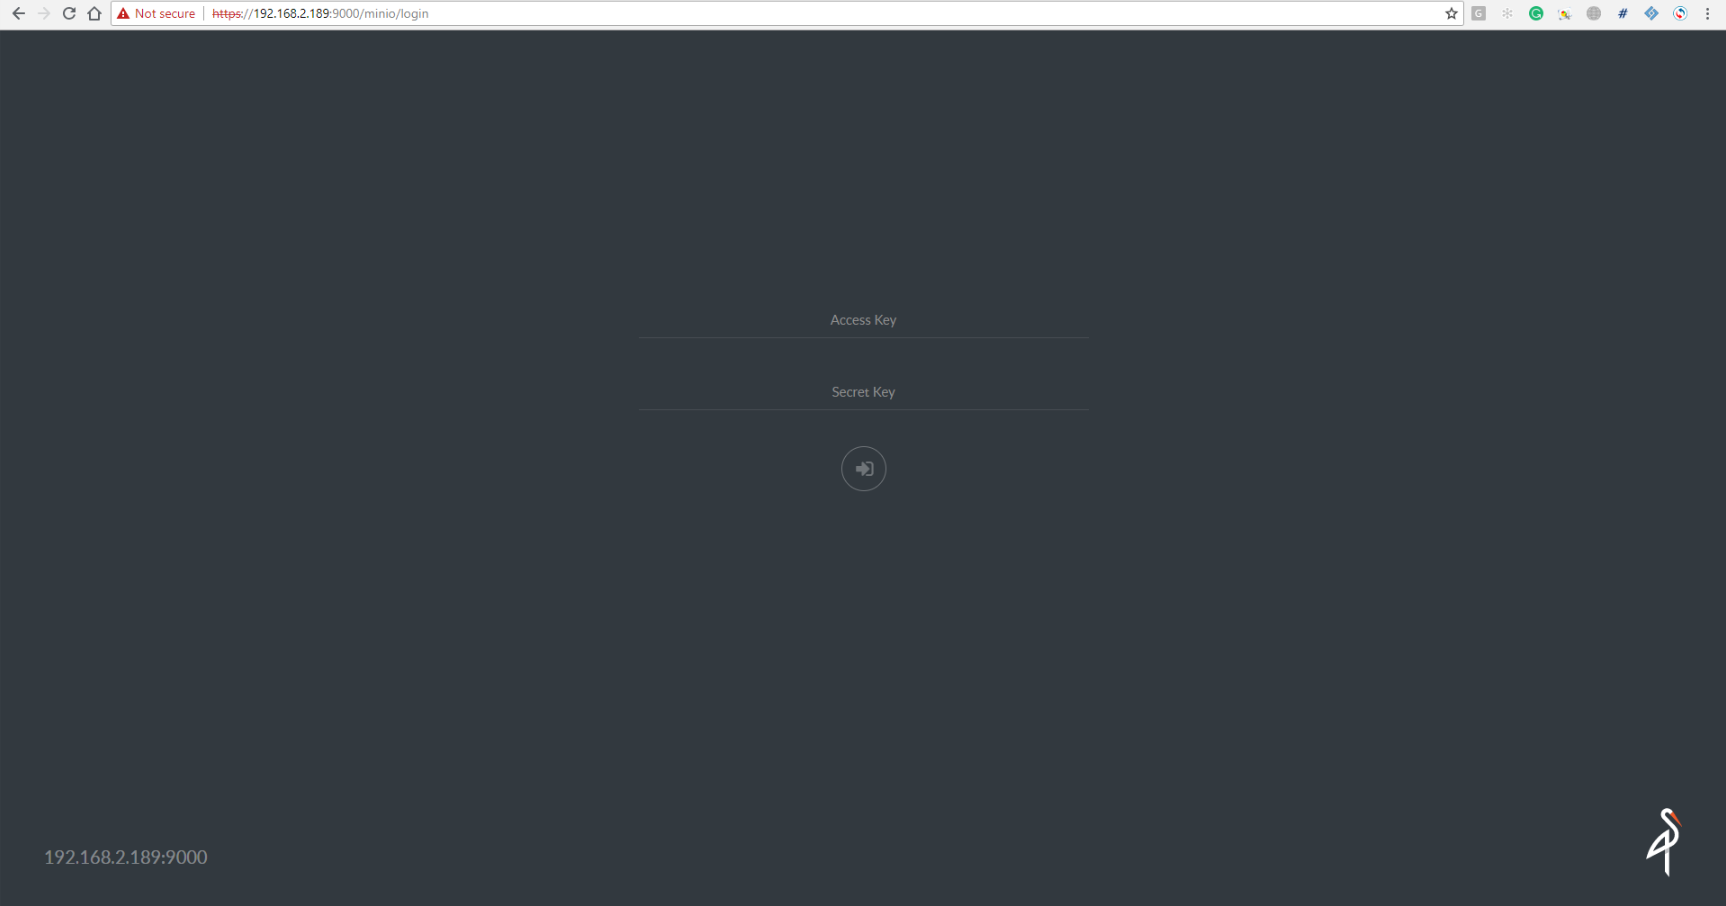
e. Access denied: need to check the external access to the Minio storage from any other server using HTTPS link in the browser.


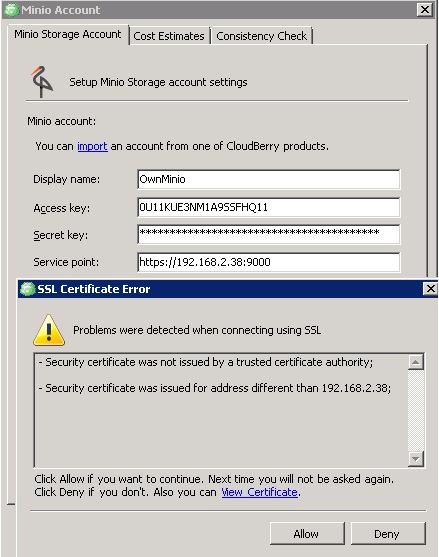
f. Once you have added the Minio storage in the MBS panel you could go to the CBB agent and start to back up your data to that Minio destination. During the first run, you will get a pop-up window where you should allow your self-signed certificate. The main difference between a Self-signed certificate and a Certificate Authority (CA) certificate is that with self-signed, a browser will generally give some type of error, warning that the certificate is not issued by a Certificate Authority.

g. You can check the following files and folders in case if you have other issues.
/etc/minio/certs - SSL certificates folder
/usr/local/bin/minio - minio binary file.
/etc/default/minio - minio options file.
/etc/systemd/system/minio.service - minio service config file.
/etc/minio/.smbcredentials - network share credentials file.
/etc/fstab - network share mount options file.