Add Boot Critical Drivers to a Restored Image
Restoring an image to a PC with identical hardware (or the same PC) is straightforward and does not require any additional actions after the restoration. However, when restoring an image to a PC with different hardware (e.g., storage drives, RAID controllers, chipsets, network adapters), the system may fail to boot and display a BSOD (Blue Screen of Death).
Common Unbootable System Error: Stop Code 0x7B (INACCESSIBLE_BOOT_DEVICE). This error occurs when the restored system cannot locate the required storage controller driver for the disk to which the system drive is connected.

In other instances, the system may boot but may not function properly due to incompatible drivers that were installed in the original system image.
Solution
If the system can boot, the simplest solution is to install the required drivers for the new hardware from within the operating system. However, if the system cannot boot, you will need to inject the necessary drivers into the offline Windows image (i.e., while the target system is not running).
This task can be accomplished using the DISM (Deployment Image Servicing and Management) tool, a command-line utility built into Windows, including environments such as Windows PE, Windows Recovery Environment (Windows RE), and Windows Setup.
Steps to Add Drivers to a Restored Image
- Prepare the Required Drivers
- Download and extract the necessary drivers to a folder on an external storage device (e.g., USB drive).
It is possible to perform this step while preparing the bootable USB or ISO disk. You can copy the drivers to the same recovery disk so they are available immediately after restoring the image
- Boot into a Recovery Environment. You can boot into one of the following environments:
- Bootable USB/ISO: Boot the PC from a recovery USB or ISO disk.
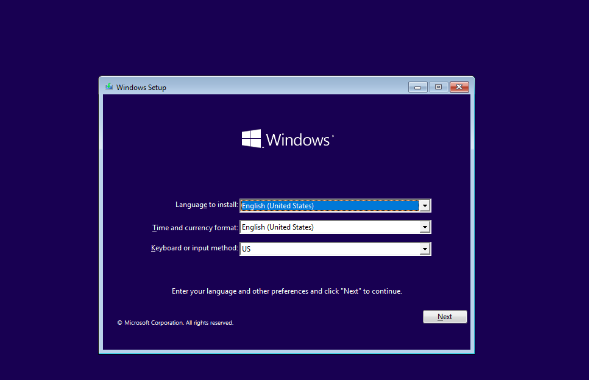
- Windows Setup: Boot the PC from a Windows installation disk.
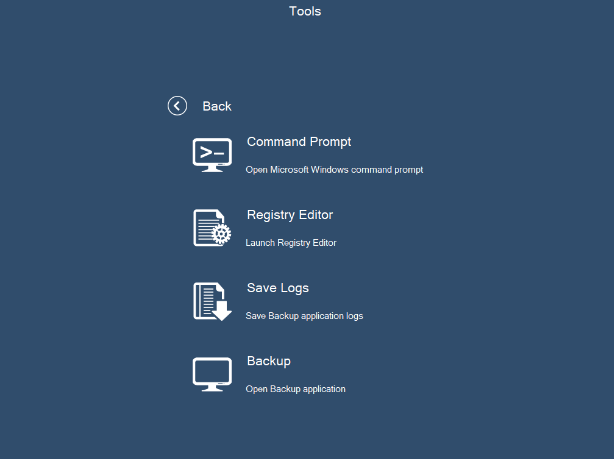
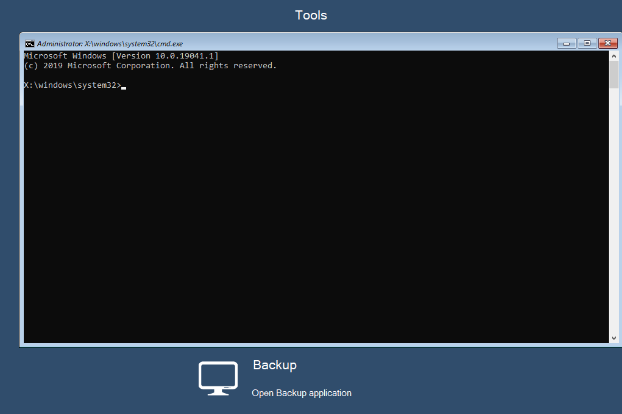
- Run the Command Prompt window from the boot menu:
- Navigate to Tools > Command Prompt.
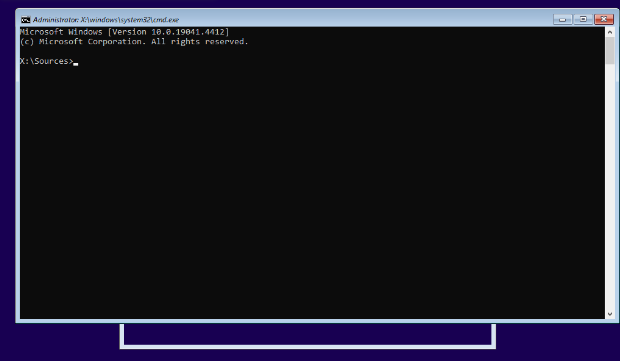
Windows Setup: When the welcome screen appears, press Shift+F10 to open the Command Prompt.
- Add Drivers Using DISM. Locate the folder where you copied the drivers and use one of the following commands to add them to the offline Windows image.
To add a single driver:
Dism /Image:D:\ /Add-Driver /Driver:e:\drivers\iaStorVD.inf
To add all drivers from a folder recursively:
Dism /Image:D:\ /Add-Driver /Driver:e:\drivers /Recurse
Where:
- *D:* represents the restored system drive, which is mounted as D:\ in the recovery environment.
- e:\drivers is the folder on the external storage device containing the drivers.
Drive letters may vary depending on your system's disk configuration in the recovery environment
Example: Adding VirtIO Storage Drivers
For virtual machines running in KVM or Proxmox, you may need to add VirtIO storage drivers (SCSI Controller). Here is an example of adding these drivers for a Windows 10 target system:
Dism /Image:C:\ /Add-Driver /Driver:d:\vioscsi\w10\amd64\vioscsi.inf
Where:
- *C:* is the mounted system drive in the recovery environment.
- The VirtIO SCSI Controller driver is located at d:\vioscsi\w10\amd64\vioscsi.inf.
Installing Unsigned Drivers If your drivers are not signed, you can install them by using the /ForceUnsigned option:
Dism /Image:D:\ /Add-Driver /Driver:e:\drivers\iaStorVD.inf /ForceUnsigned
For more detailed information on adding driver packages using the DISM tool, refer to the following Microsoft documentation.
- Reboot the System Once the drivers have been added, restart the computer and boot into the restored Windows system.