System Restored Using Legacy Boot Mode (code 2057)
Situation
A bare metal restore plan finishes with the following information message: System restored using Legacy boot mode (code 2057)
Cause
During bare metal restore the following warning appears in the backup plan wizard:
- To ensure compatibility of the restored system, change the boot mode in the BIOS to Legacy. Click 'Yes' to change the boot mode now. Click 'No' to change it later.
This warning indicates that the boot mode of the restored system does not match the boot mode of the system that runs the restore (target system). Received information messages inform you what boot mode is used for the restored system.
Refer to the following Microsoft document for details.
The restored system disk mode is Legacy BIOS. Target system mode is GPT/UEFI. You need to change boot mode on the target system to Legacy before booting from the restored disk on this machine.
Solutions
Solution 1. Physical machine
Update the boot mode in the system BIOS to ensure compatibility and a successful restore. The procedure depends on your environment. To update boot mode in the System BIOS
- Access the System BIOS/UEFI
- Restart the physical machine.
- During startup, press the key to access the BIOS/UEFI settings (e.g., F2, Del, F10, or as indicated by your system manufacturer).
- Enter the BIOS or UEFI firmware interface.
- Locate Boot Mode Settings
- Navigate to the Boot or Advanced Settings section.
- Look for the option labeled Boot Mode, Boot Firmware, or similar.
- Select the Legacy Boot Mode
- Save Changes and Exit
- Save the changes (often by pressing F10) and exit the BIOS/UEFI settings. The system will reboot with the updated boot mode.
Important Notes
- Data Integrity: Ensure that the disk partitioning scheme matches the selected boot mode:
- BIOS/Legacy requires MBR-partitioned disks.
- Manufacturer-Specific Instructions: Refer to your hardware documentation or manufacturer’s support site for detailed steps, as BIOS/UEFI interfaces vary between vendors.
Solution 2. VMware virtual machine
Changing the boot mode of a VMware virtual machine involves modifying the firmware settings in the VM's configuration. VMware supports two boot modes: BIOS (Legacy) and UEFI (Unified Extensible Firmware Interface). To change the boot mode:
- Power off the virtual machine
- Open VMware Workstation, Player, or vSphere Client.
- Ensure the virtual machine is completely powered off, not in a suspended state.
- Access VM settings
- Right-click on the virtual machine in the inventory or list.
- Select Edit Settings or Settings.
- Change boot firmware
- Look for a tab or section labeled Options or VM Options.
- Locate Boot Options or Firmware settings.
- Select the BIOS for legacy firmware.
- Save settings
- Apply or save the changes to the VM configuration.
- Verify Boot Mode
- Power on the virtual machine.
- Access the firmware settings during boot (e.g., by pressing F2 for BIOS).
- Confirm that the VM is using the selected boot mode.
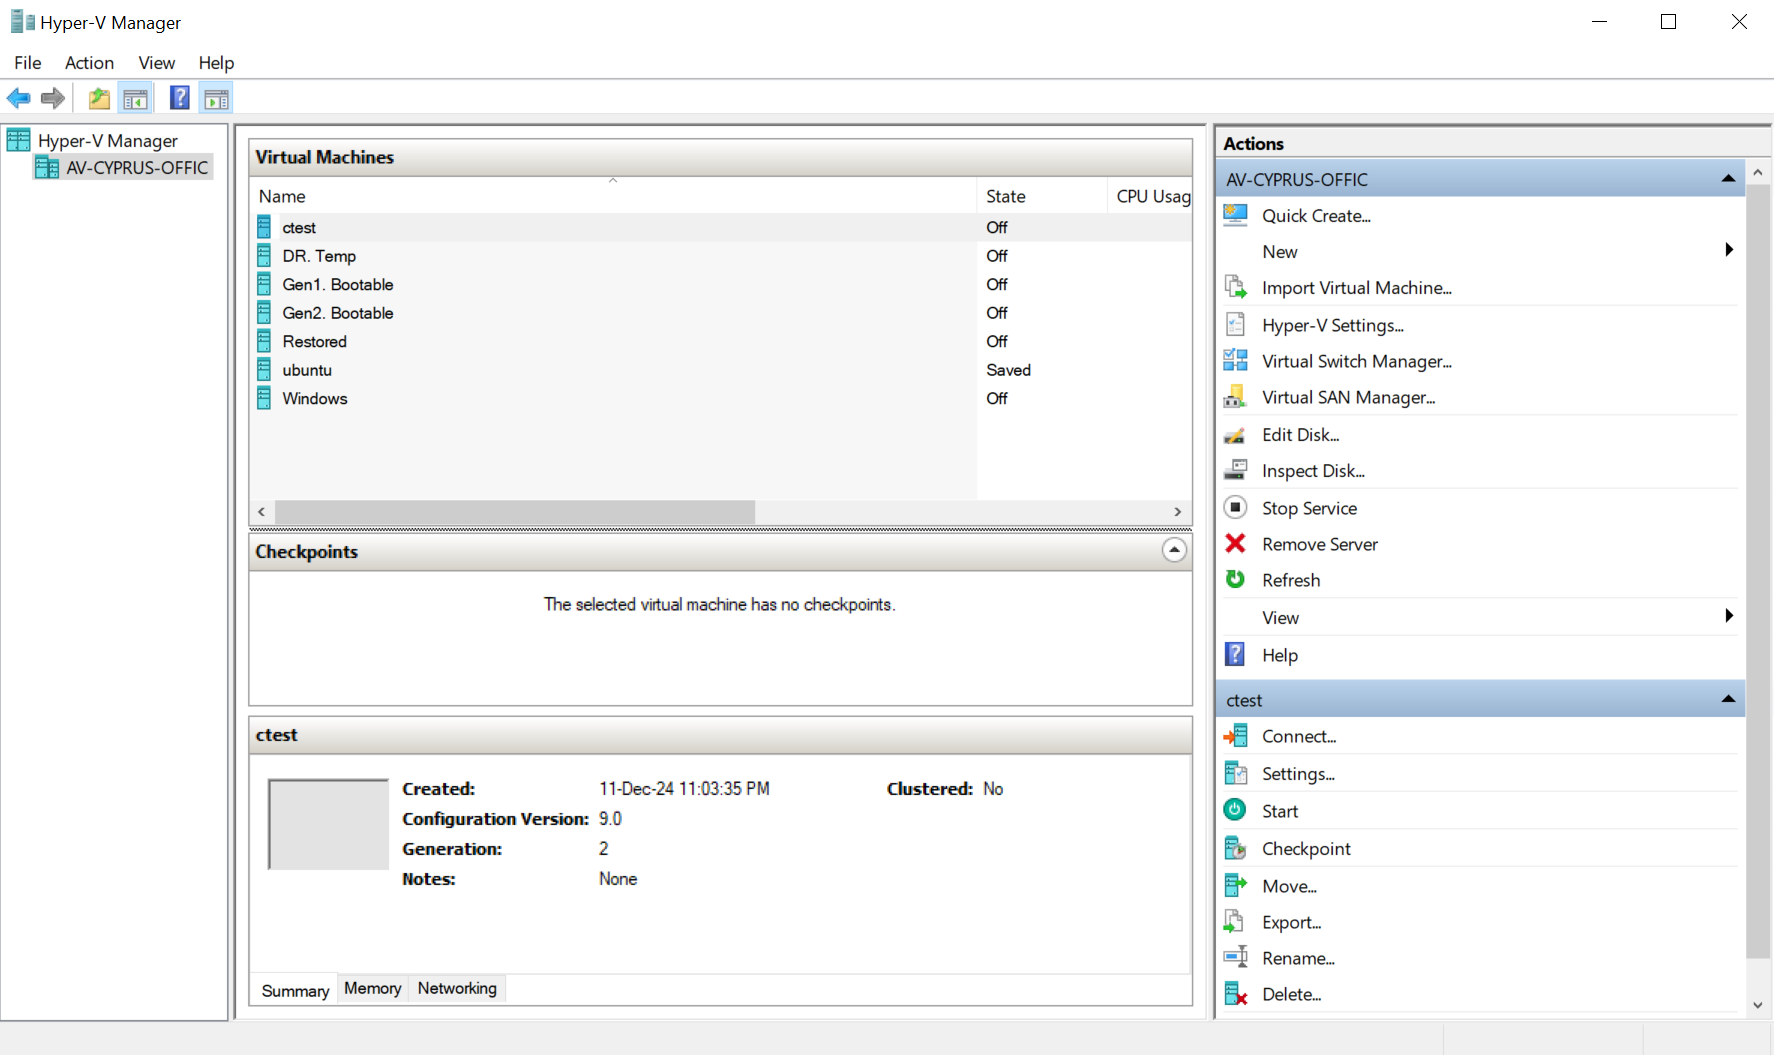
Solution 2. Hyper-V Virtual Machine
Hyper-V supports two types of firmware for virtual machines:
- Generation 1 VM: Uses BIOS firmware.
- Generation 2 VM: Uses UEFI firmware.
The firmware type is determined when you create the virtual machine, and it cannot be changed after the VM is created. If you need to switch from UEFI to BIOS, you must create a new virtual machine with the desired generation and migrate the data.
How to set boot firmware in Hyper-V:
- Check existing VM generation
- Open Hyper-V Manager.
- Right-click on the virtual machine and select Settings.
Create New Hyper-V Virtual Machine
To change the boot firmware, you must create a new VM with the desired generation.
- Export existing VM data (optional): If you want to migrate the existing VM data:
- Shut down the VM.
- Export the virtual machine (right-click the VM > Export).
- Create a new VM:
- In Hyper-V Manager, click New > Virtual Machine.
- Choose the desired generation and follow the wizard to configure the VM.
- Generation 1: BIOS
- Migrate exported data to the new VM:
- Attach the virtual hard disk (VHD or VHDX) from the old VM to the new one.
- Reconfigure Boot Options:
- Access the VM's settings and ensure the boot order is correct.