Restoring UEFI/GPT Disk Images To AWS EC2
- Requirements
- Restore Image-Based / Hyper-v backup to VHDX file
- Spinning up an EC2 instance with UEFI disk import tool
Requirements
Before doing the restoration you need:
- Have a storage account in Amazon AWS
- Create a vmimport role with permission to your bucket
- AWS Access and Secret key for a user with an assigned AWS administrator policy
- Powershell 5.0+ to run the tool
- Make an image-based backup in this AWS account
- To increase the performance of the restore process you can launch an EC2 instance in the same region as the bucket with the image-based backup. Install Cloudberry backup agent on this EC2 instance to transfer the data within the cloud. This will allow you to avoid passing the data through your local computer. Make sure you have enough disk space to put the virtual disk in the VHDX format locally on that EC2 instance
Depending on selected temporary instance type and VHDX file size, restore process can take several hours
Restore Image-Based / Hyper-V Backup to VHDX file
Amazon AWS does not support EC2 instances based on GPT boot. CloudBerry engineers designed and developed free import tool which allows you to import restored Image-based backup.
Firstly, you need to restore your Image-Based backup as VHDX file. Follow the steps below to complete it.
- Click the Restore button on the Home tab.

- Click Next.
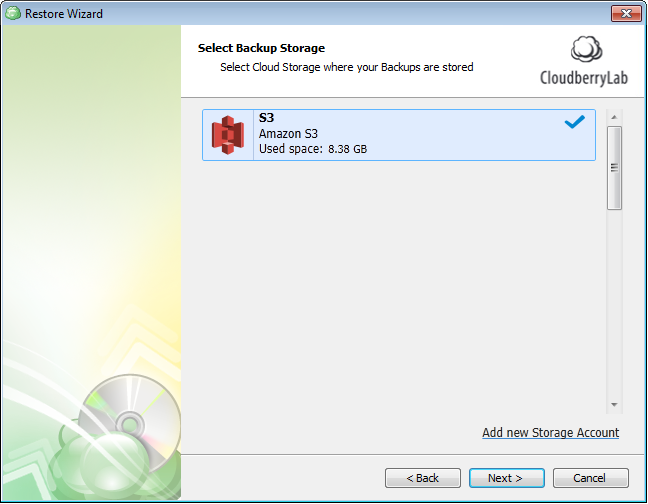
- Select your cloud storage.
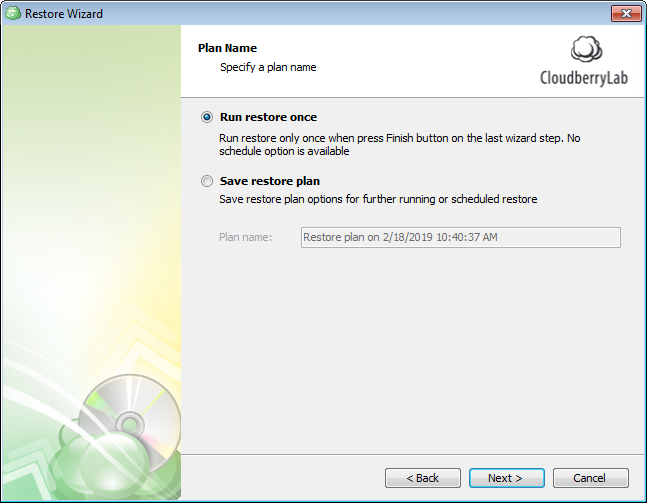
- Select “Run restore once” or “Save restore plan”.
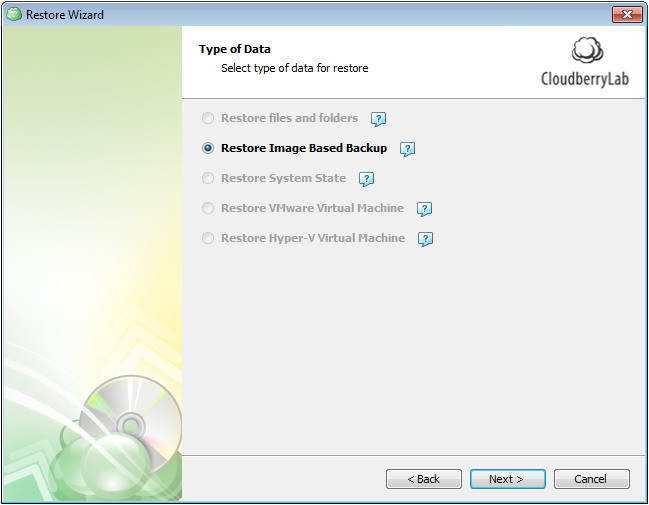
- Select “Restore Image-Based Backup”.
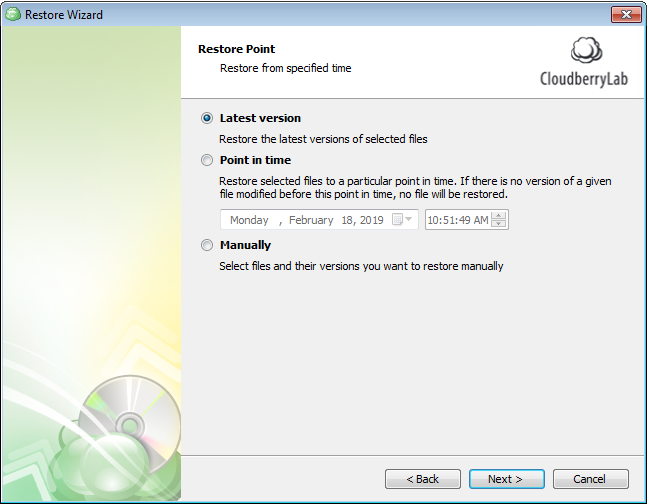
- Select the restore point.
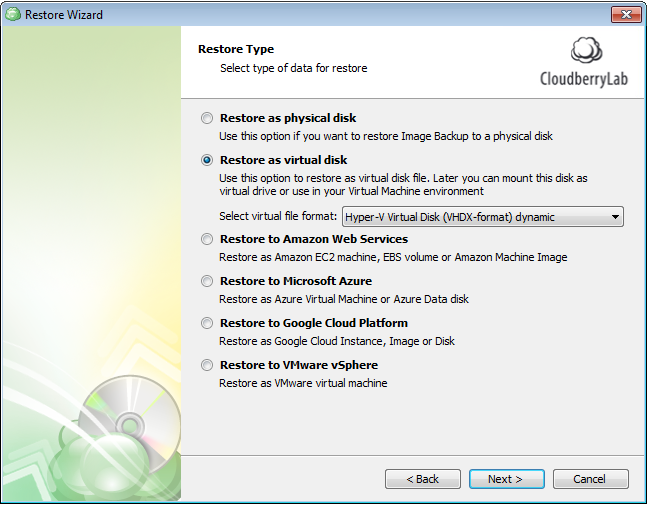
- Select “Restore as virtual disk” and “Hyper-v Virtual Disk (VHDX-format) dynamic” format.
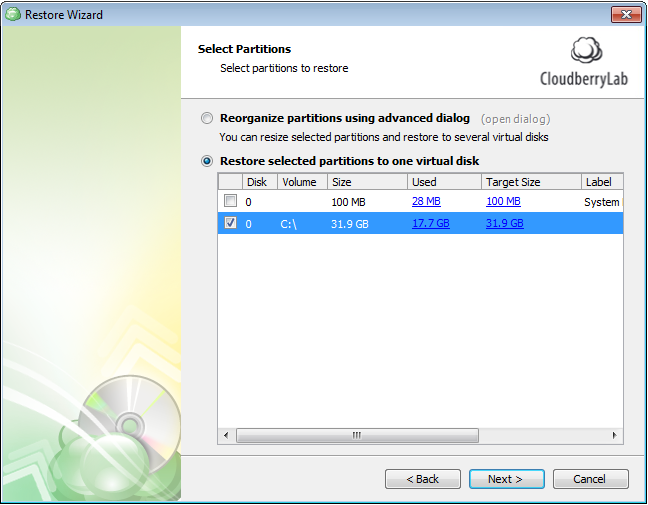
- Select your boot partition (C:) only. The rest of your disks you will restore later as EBS volumes.
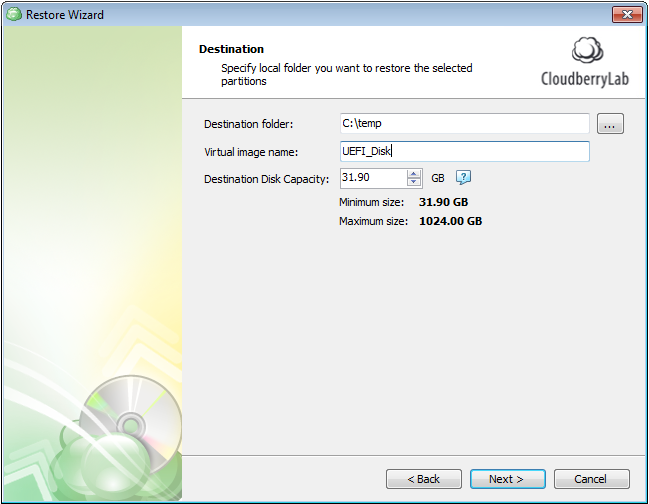
- Select “Destination Folder” and specify “Virtual image name”. Click Next.
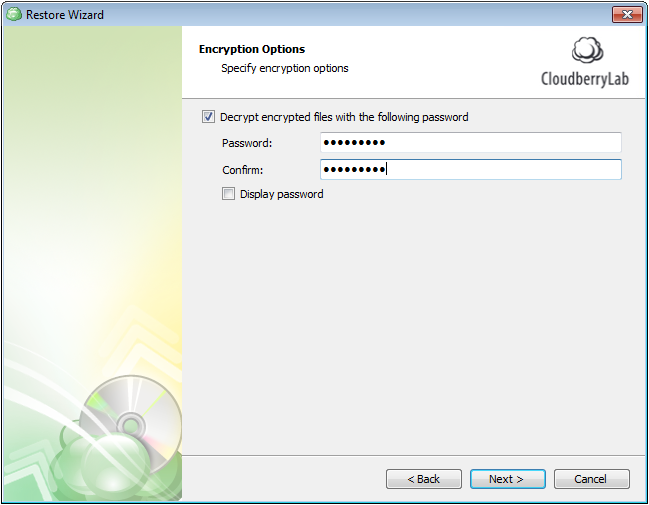
- Enter your “Encryption password” which you specified for the backup plan. Click Next.
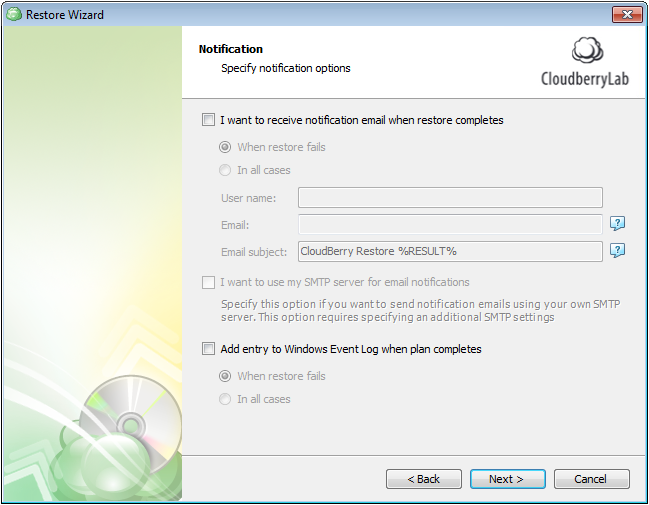
- Specify notification options. Click Next.
- Complete Restore plan wizard and run the restore plan.
Spinning Up EC2 Instance With UEFI Disk Import Tool
When Image-Based restore to VHDX files is finished, you can proceed with importing VHDX file to AWS as EC2 instance.
Download “Import UEFI VHDX Disk” tool here.
Unzip and run Import-UEFIDisk.exe
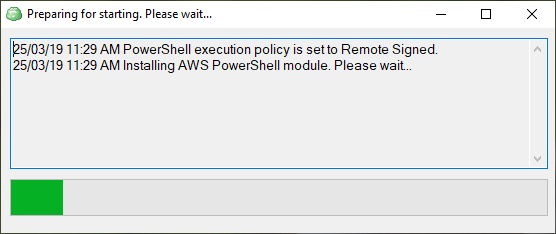
When you first start the program, it will install/import required Powershell modules.
- Complete the required fields in the form
3.1. Select the restored VHDX file in “VHDX disk path” field

3.2. Specify your Access and Secret key. You should have the required permissions.

3.3. Click the “Load” button to connect to AWS cloud.
3.4. Select your preferred region. All actions will be taken in this region.
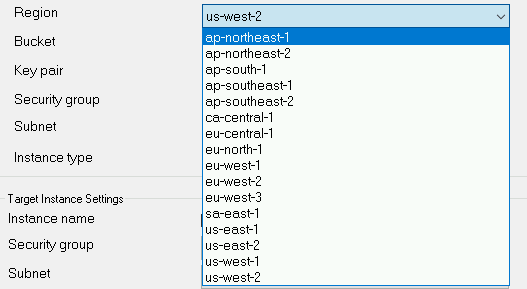
3.5. Select the bucket where VHDX file will be uploaded and converted to EC2 instance.

3.6. Select the key pair for the temporary instance. You can select any of the existing. It is required for troubleshooting only.

3.7. Select Security Group which will be assigned to the temporary instance. The security group has to allow outgoing traffic to AWS S3.

3.8. Select Subnet for temporary instance. Subnet have to be public.

3.9. Select a temporary instance type. The most cost-effective instances t2.small and t2.medium.
The most important temporary instance parameter is a CPU credits. Make sure that you specified instance type suitable for the size of VHDX disk.

3.10. If you want to spin up the target instance, you have to enable the checkbox in front of Instance name. With an unticked checkbox, the only image will be imported and AMI created.
3.11. Specify the target instance name.

3.12. Select the security group for the target instance.

3.13. Select the subnet for the target instance.

3.14. Select the target instance type.

3.15. If you want to keep source UEFI VHDX or converted to MBR VHDX, please untick correspondent checkbox.

3.16. Click “Start Import” to start the process.

3.17. The text field under the progress bar will reflect all actual steps of the process.
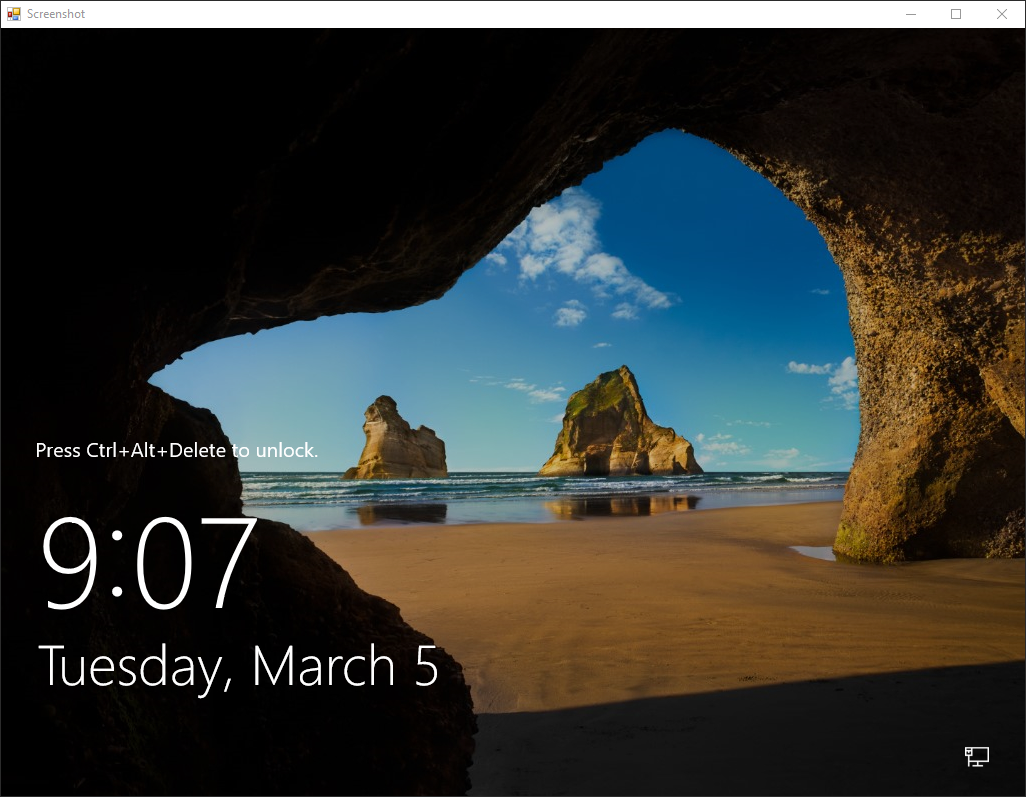
3.18. When the import job is finished, a screenshot from the booted EC2 instance will be shown.
Contact Us
- Tech questions
- Sales questions: sales@msp360.com